
Ever since I moved to the Northern Virginia area I have heard so much about Pho. I have never been to a Pho restaurant, but have always wanted to try it. Then I was doing my daily blog hop and came to My Kitchen Addiction and her Kitchen Boot camp. She has a new one every month usually for technique, but this time it was a food challenge, based on the book The Professional Chef. I haven't done one before and it looked like fun, so I decided to give it a try. The challenge is from the second part of the book: The Americas, Asia and Europe. I chose to focus on Asia, because I make "American" food all the time plus I don't know if I'm ready to take on European food. Now I've made my share of stir fry's and fried rice, but this is supposed to be a challenge.
So I went to the library and headed for the cooking section to look for region to focus on. I finally decided on Vietnamese cooking and found a book that spoke to me Quick and Easy Vietnamese. I looked through it and found a recipe for Pho, and thought this is it. I immediately checked out the book and headed for my local Asian Market to get my ingredients. My first thoughts when I got home were, man this is a lot of ingredients and I hope I don't mess this up. My hubby (my pho expert) gave me a little insight "it's all about the broth," so with that I went to work.
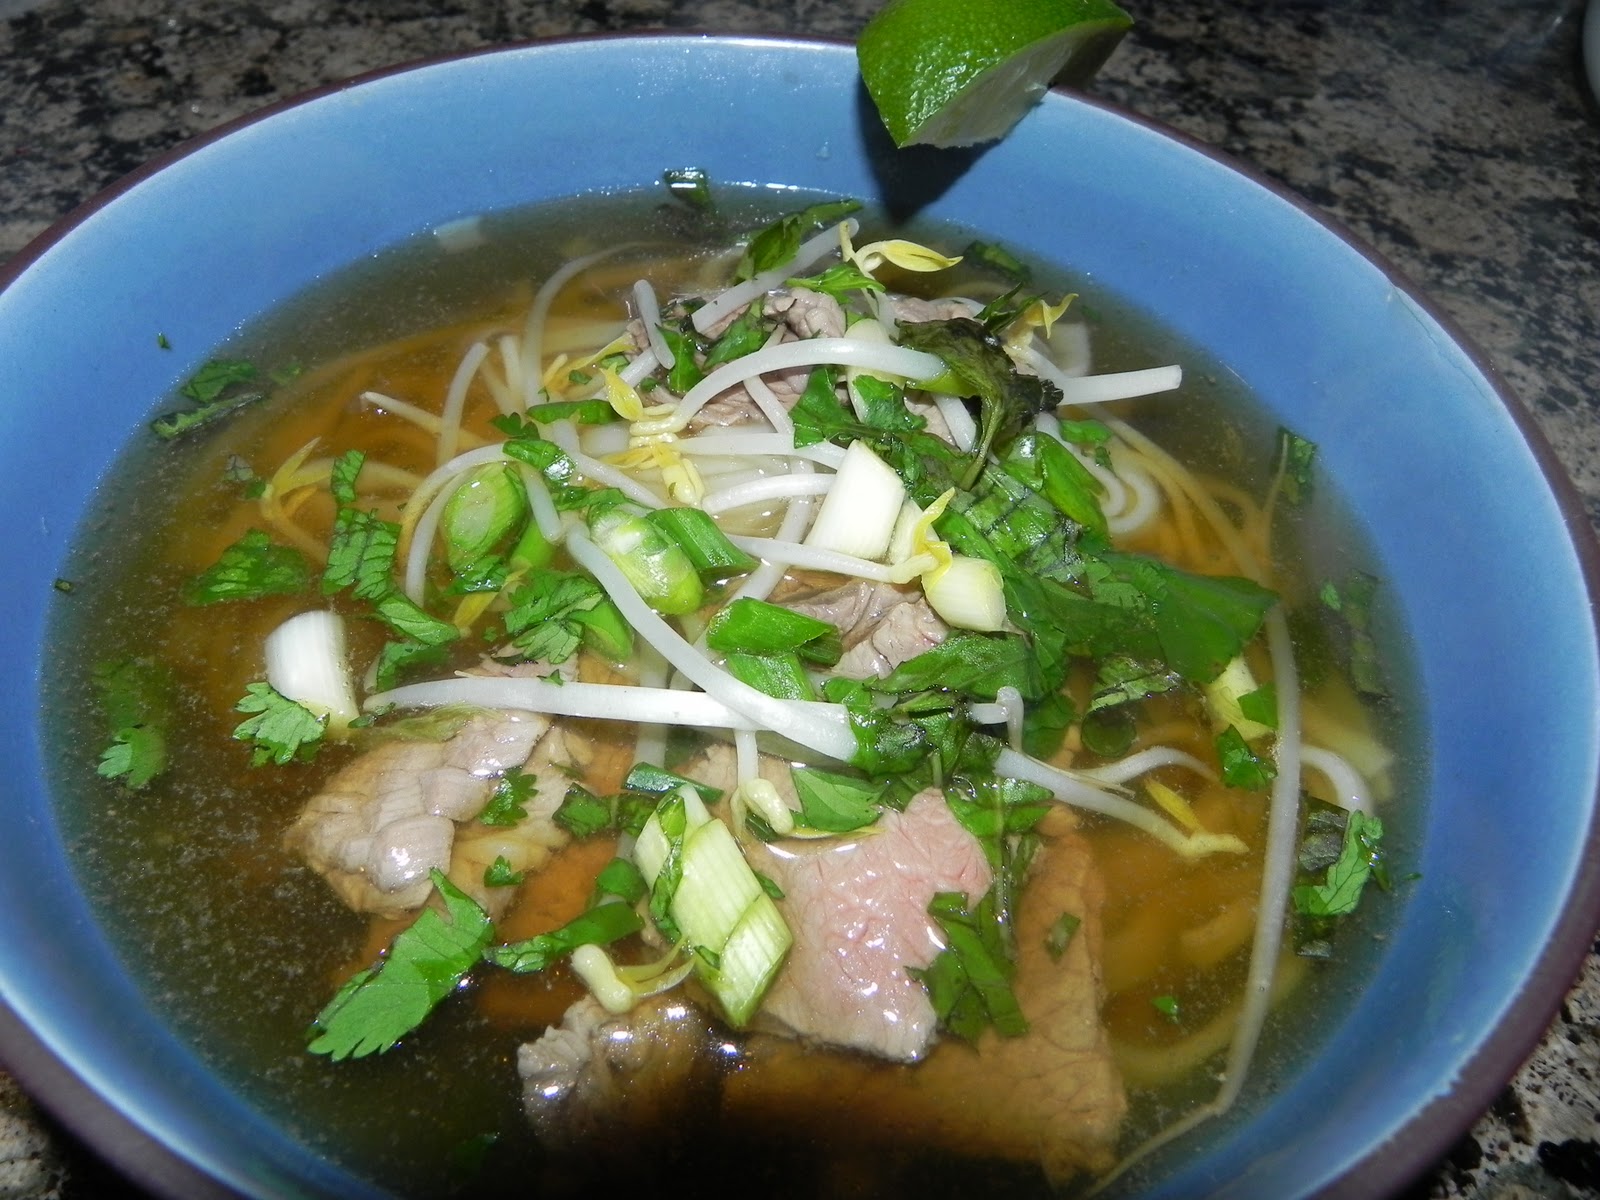
Pho Noodles with Beef
For the Broth
8 cups of Chicken Broth
1lb round steak, sliced crosswise into 1 inch strips
3 cinnamon sticks
3 whole cloves
3 star anise
1 unpeeled onion, cut into quarters lengthwise
½ peeled and coarsely chopped fresh ginger (to peel use the back of a spoon)
For the Bowl
½ lb linguine-width dried rice noodles (banh pho)
2 tbsp fish sauce
1 tsp sugar
½ tsp salt
3 cups bean sprouts
1 cup thinly sliced onion or shallots
1 cup coarsely chopped fresh Asian basil (I like Thai basil), cilantro or mint, or a combination
½ cup thinly sliced green onion
¼ cup of freshly squeezed lime juice (I just cut the lime, that way you can use as much as you want)
2 fresh jalapeno chilies cut into thin rounds
1 ¼ pound boneless rib-eye, strip or flank steak
To prepare the broth, combine chicken broth, sliced round steak, cinnamon stick, cloves and star anise in a large stock pot. Bring to a gentle boil over medium high heat. Your house will smell AMAZING.
Meanwhile, brown the onion and ginger to bring out the flavor: heat a large skillet over medium high heat until very hot, about one minute. Add onion and ginger and cook until browned on all surfaces. Then add to broth, and boil for 1 hour.
While broth is cooking soften the noodles by immersing them in warm water for 15-20 minutes. Drain and set aside.

Remove broth from the heat and stir in fish sauce, sugar and salt. Strain broth into a large saucepan, discarding the solids.
About a half hour before serving, prepare the noodles, beef and accompaniments.
Bring a large saucepan of water to a rapid boil for the noodles; also bring broth to a boil as well.
Slice the steak, drop the broth and cook until medium rare.
Right before serving cook noodles by dropping them in water, remove from heat and let stand for 10 minutes. Be sure to break up any clumps.
Drain noodles and divide them into 4 bowls, top with steak, bean sprouts, onions, herbs, green onions, and chilies.

Ladle hot broth over noodles and serve with lime.
I really enjoyed taking part in this challenge. While this recipe wasn't very quick, it was very satisfying. I hope you all enjoy this recipe. Be blessed


